A Coach’s Guide to Unlocking Soccer Low Block Defences

A Coach’s Guide to Unlocking Soccer Low Block Defences
1. Understanding the Low Block
2. Core Principles for Beating Low Block Defences
2.1. Patience and Relentless Ball Circulation
The Trap: Low blocks thrive on snatching the ball. This happens when the attacking team gets impatient and forces a pass.
The Solution: Encourage your players to circulate the ball with purpose. Move it side-to-side and back-to-front. Wait for gaps to appear. This movement can eventually draw defenders out of position or create fatigue.
2.2. Creating Numerical and Positional Overloads
The Idea: Achieve a numerical advantage in a specific area of the pitch. This creates passing options and helps break defensive lines.
How:
- Wide Overloads: Use full-backs and wingers, potentially an attacking midfielder. Create 3v2 or 4v3 situations on the flanks.
- Central Overloads: An attacking midfielder dropping deep or a striker linking up can create a temporary overload. This happens in Zone 14 (the area just outside the penalty box).

2.3. Quick Combinations and One-Two Touch Play
The Challenge: Minimal space means less time on the ball.
The Solution: Players must be proficient in quick, incisive one-two touch passing. This keeps the ball moving faster than defenders can react. Quick passes can open up passing lanes. Mastering this is key for football low block defences.
2.4. Switching the Point of Attack
The Principle: After patiently circulating the ball on one side, a quick, long diagonal pass to the opposite flank can catch the defence shifting slowly. This creates space for an attack before they can reorganize.
Key: Accurate execution of the switch and quick offensive movement on the receiving side are vital.
2.5. Utilizing Width and Depth
Width: Essential to stretch the compact defence horizontally. Full-backs and wingers must hug the touchline.
Depth: Players need to occupy different vertical lines. One player might drop deep to receive, another stays high to run in behind. This forces defenders to make choices. Good depth and width are crucial football tactics.
2.6. Individual Brilliance and Dribbling
The Spark: Sometimes, a moment of individual magic can unlock a defence. Encourage players with strong 1v1 ability to take on defenders. This is particularly effective in wider areas or around the box. These brave actions can create crucial openings.
2.7. Set Pieces
The Opportunity: Corner kicks and free-kicks near the box become crucial. Well-rehearsed routines can be highly effective against deep-lying defences. This is especially true if your team has strong aerial players. Practice these scenarios often.
2.8. Defensive Transition (Counter-Pressing)
The “What If”: When attacking a low block, you are vulnerable to counter-attacks if you lose possession.
The Solution: Implement a strong counter-pressing system. Immediately upon losing the ball, the players closest to the action should press to win it back. This prevents the opponent from launching a meaningful counter and keeps the pressure on the defence.
3. Tactical Approaches & Formations
3.1. The 4-3-3
This formation offers a great balance of width, central presence and attacking options.
----- (ST) (RW)
(LW)
---- (LCM) (RCM)
------- (CDM)
(LB) -- (LCB) (RCB) -- (RB)
----------- (GK)
Key Roles:
- Full-backs (LB, RB): Crucial for providing width and overlapping runs to get crosses in. They often push very high.
- Central midfielders (CDM, LCM, RCM): One defensive midfielder (CDM) screens the defence and circulates the ball. Two attacking central midfielders (LCM, RCM) are vital to make late runs into the box, linking play, and shooting from outside.
- Wingers (LW, RW): Can either stay wide to stretch the defence or cut inside to dribble, shoot, or combine with the striker. Inverted wingers who cut inside are particularly effective at creating central shooting opportunities.
- Striker (ST): Needs to be good at linking play, dropping deep to combine, and making intelligent runs into the box.
Strengths: Excellent for creating overloads out wide, good central presence for combination play and recovering second balls, natural attacking shape.
Weaknesses: Can be exposed to counter-attacks if full-backs are too high and midfield isn’t disciplined in transition.
3.2. The 4-2-3-1
Another popular formation, offering a strong central attacking presence behind the striker.
----------- (ST)
---- (LAM) (CAM) (RAM)
------- (CDM1) (CDM2)
(LB) -- (LCB) (RCB) -- (RB)
----------- (GK)
Key Roles:
- Full-backs (LB, RB): Similar to the 4-3-3, they provide vital width.
- Double Pivot (CDM1, CDM2): Offers defensive solidity and a base for ball circulation. One might push higher to link with the attacking midfielders.
- Attacking Midfielders (LAM, CAM, RAM): The No. 10 (CAM) is the creative hub, responsible for unlocking defence with through balls, dribbling, and shots. The wide attacking midfielders (LAM, RAM) can cut inside or stay wide, offering dynamism.
- Striker (ST): Often a target man or a mobile striker who can hold up play and bring others into the game.
Strengths: Strong central attacking presence, good defensive cover with the double pivot, versatile attacking options.
Weaknesses: Can sometimes lack natural width if the wide attacking midfielders constantly drift inside, potentially isolating the full-backs.
3.3. The 3-4-3 (or 3-4-2-1)
For a more aggressive approach, this can flood the attacking zones.
---------- (ST)
---- (LF) (RF)
(LWB) (CM1) (CM2) (RWB)
---- (LCB) (CB) (RCB)
----------- (GK)
Key Roles:
- Wing-backs (LWB, RWB): Absolutely critical to provide all the width. They must have exceptional stamina and defensive awareness.
- Central midfielders (CM1, CM2): Responsible for ball circulation, controlling the tempo, and providing defensive cover.
- Forwards (LF, RF, ST): The three forwards (or two attacking midfielders behind a striker) are tasked with combination play, dribbling, and making incisive runs into the box.
Strengths: Creates numerous attacking options and overloads in the final third, can overwhelm a defence with sheer numbers, strong pressing capability.
Weaknesses: Vulnerable on the flanks to quick counter-attacks if wing-backs are caught high, requires highly athletic and tactically intelligent players.
4. Drills and Training Exercises
4.1. The Box-to-Box Overload Drill (Creating Wide Overloads & Switches)
Objective: Practice creating overloads on the flanks and switching the play quickly.
Setup:
- Mark out a playing area about 40×30 yards, with a small goal at each end.
- Divide players into two teams. One team starts with 5 players (3 central midfielders, 2 full-backs/wingers) and the other with 4 defenders.
Execution (Example: 5v4):
- The attacking team (5 players) starts with possession. Their goal is to score in either small goal.
- Encourage attackers to circulate the ball, drawing defenders to one side.
- When an overload (e.g., 3v2) is created on one flank, they should try to exploit it with quick passes or a dribble.
- If the defence shifts quickly, look for a long diagonal pass (switch) to the opposite flank. A wide player should be ready to receive and attack.
- Defenders try to win the ball and score in the opposite goal.
Coaching Points:
- Patience: Don’t force passes into crowded areas.
- Movement: Wide players hug the touchline; central players offer support.
- Communication: Call for the switch or for runs.
- Quality of Pass: The switch pass must be accurate and weighted.
- Urgency after the Switch: Attack quickly before the defense reorganizes.
4.2. Rondo Variations (Quick Combinations & One/Two Touch)
Objective: Improve quick passing, decision-making, and close control in tight spaces.
Setup:
- Create an 8×8 yard square.
- Place 5-6 attacking players inside the square. Add 2-3 defenders in the middle.
Execution (Example : 6v2 Rondo):
- The attacking team tries to keep possession, passing the ball quickly. Primarily use one or two touches.
- Defenders try to win the ball. If they do, roles can be swapped.
- Progress to larger areas with more players/defenders or add conditions (e.g., pass through a specific gate).
Coaching Points:
- Heads Up: Scan for options before receiving.
- Body Shape: Open to receive and play forward.
- Weight of Pass: Accurate and firm enough.
- Communication: Call for the ball.
- Movement Off the Ball: Create angles to receive.
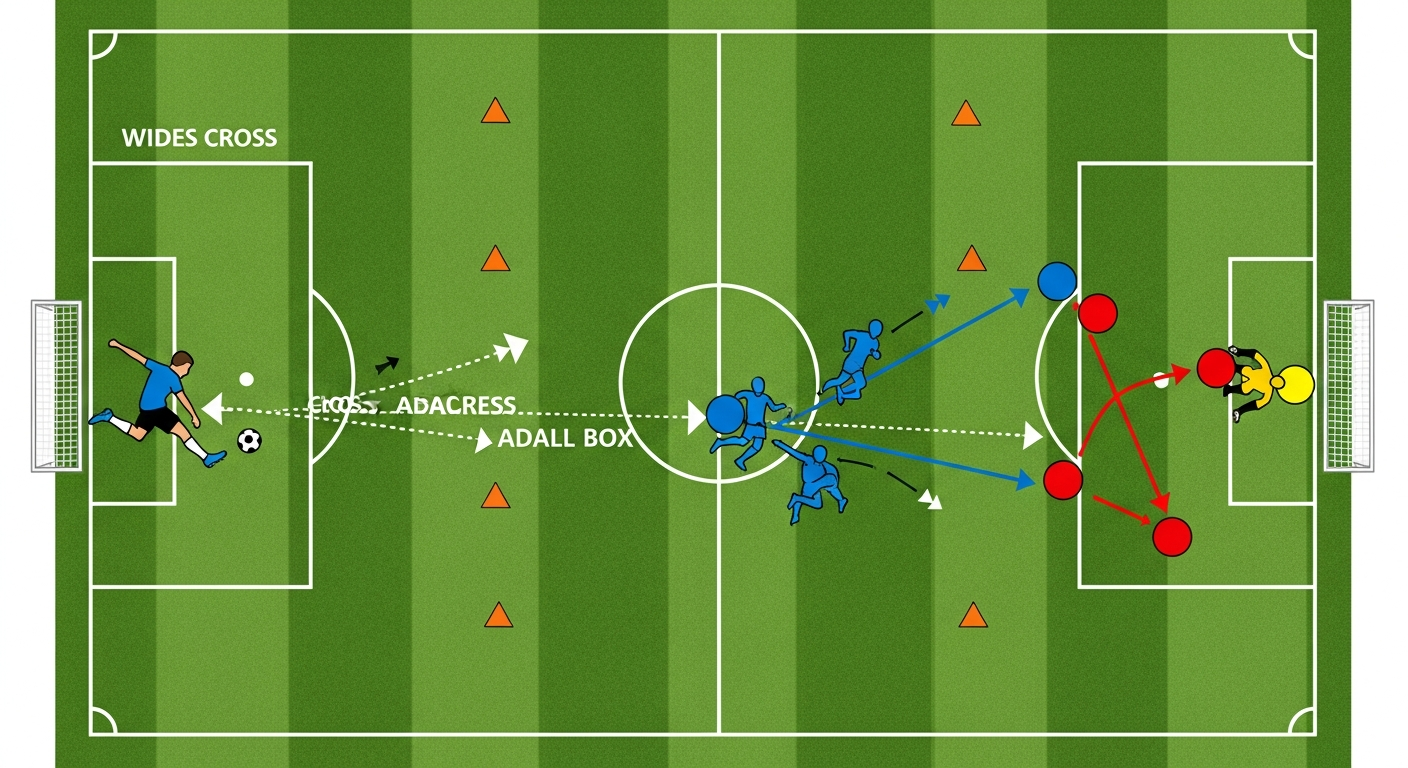
4.3. Crossing & Finishing with Movement Drill
Objective: Improve crossing accuracy, timing of runs, and finishing inside a crowded box.
Setup:
- Full-sized goal with a goalkeeper.
- Two wide channels (10–15 yards wide) marked on each flank.
- A central area (penalty box size) for attackers and defenders.
- Players: 2 wide players, 3 central attackers, 3–4 defenders.
Execution:
- Ball starts with a wide player.
- The wide player attacks the byline or the edge of the box to deliver a cross.
- The three central attackers make varied runs into the box.
- Defenders try to clear the ball.
- Attackers aim to score, then switch sides and repeat.
Coaching Points to beat soccer low block defences
- Cross Quality: Vary types of crosses depending on the situation.
- Timing of Runs: Attackers must time their runs to arrive as the cross comes in.
- Movement in the Box: Keep moving; attack spaces.
- Finishing Instinct: React to deflections or parries.
- Second Ball: Follow up on rebounds.
4.4. Through Ball & Combination Play Drill (Small-Sided Game)
Objective: Encourage intelligent runs and precise through balls against a compact defence.
Setup:
- Half-pitch or two-thirds of a pitch.
- A regular goal with a goalkeeper.
- Divide players into an attacking team (6–7 players) and a defensive team (4–5 players).
Execution:
- The attacking team tries to break down the low block and score.
- Encourage through balls, one-two passes, and third-man runs.
- Award extra points for goals scored from combinations within the box.
- Defensive teams can counter-attack if they win possession.
Coaching Points:
- Vision: Identify gaps and passing lanes.
- Timing of Runs: Attackers must run into space at the right moment.
- Weight of Pass: Perfectly weighted through balls.
- Third Man Run: A player without the ball runs into the space created by a previous pass or dribble.
- Creativity: Encourage imaginative passes and movements.
5. Player Attributes & Mindset
- Vision & Decision-Making: Players must quickly assess situations and choose the best option.
- Technical Proficiency: High-level passing, receiving, dribbling, and shooting are non-negotiable in tight spaces.
- Patience & Perseverance: Players need to maintain focus and belief.
- Creativity & Bravery: Encourage players to take risks in tight areas.
- Movement Off the Ball: Constant, intelligent movement creates space and confuses defenders.

Frequently Asked Questions
Q1: What’s the biggest mistake teams make when facing a low block?
A1: The biggest mistake is impatience. Teams often force passes into crowded areas too early or resort to hopeful long shots. This leads to losing possession and becoming vulnerable to counter-attacks.
Q2: How important is a striker’s role against a low block?
A2: Extremely important. A striker needs to be versatile. They must be able to hold up the ball, link play with midfielders and make intelligent runs to create space. They can also drop deep to create overloads or stretch the defence by running in behind.
Q3: Can a team without highly skilled dribblers still break down a low block?
A3: Yes, absolutely. While individual brilliance helps, a team can still succeed through superior collective movement, quick one-two touch passing, intelligent overloads, and effective switching of play. Strong set-piece routines are also a great equalizer.
Q4: How quickly can a team learn to effectively beat a low block?
A4: It takes time and consistent practice. Implementing these football tactics requires repetitive drills and tactical understanding. With dedicated training and player buy-in, significant improvements can be seen within a few weeks to months.
Q5: What is “Zone 14” and why is it important against low blocks?
A5: “Zone 14” refers to the central area just outside the opponent’s penalty box. It’s crucial because it’s the prime area for creating shooting opportunities, through balls, and dangerous combinations. Controlling this zone makes it easier to penetrate the final defensive line.
Conclusion


